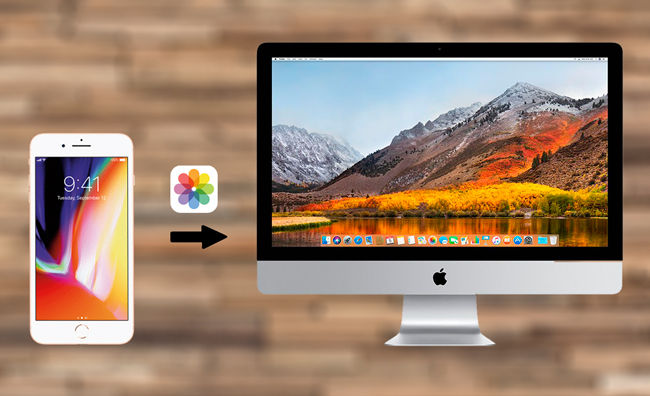
Are you tired of scrolling through your iPhone or iPad to find the perfect photo to transfer to your Mac? Look no further! In this blog post, we will walk you through the process of transferring images from your iPhone or iPad to your Mac using the Image Capture app. Image Capture is a built-in application on Mac that allows you to quickly and easily transfer photos and videos from your iOS devices to your Mac. Let's get started with the step-by-step guide below:
Step 1: Connect Your iPhone or iPad to Your Mac
Using a USB cable, connect your iPhone or iPad to your Mac. Make sure your device is unlocked and on the home screen before proceeding.
Step 2: Open the Image Capture App
On your Mac, open the Image Capture app. You can find it in your Applications folder or by searching for it in Spotlight.
Step 3: Select Your Device and Photos
In the Image Capture app, you will see a list of all the devices that are connected to your Mac. Select your iPhone or iPad from the list of devices.
Next, you will see all the photos and videos stored on your device. You can now select the photos you want to transfer to your Mac. You can select multiple photos by holding down the Command key and clicking on the photos. Alternatively, you can select all the photos by clicking on the "Import All" option.
Step 4: Choose Destination and Import
Once you have selected the photos you want to transfer, you can choose the destination where you want to save the photos on your Mac. You can either choose an existing folder or create a new folder to store your imported photos.
After selecting the destination, click on the "Import" button in the Image Capture app. This will initiate the transfer process, and your selected photos will be copied from your iPhone or iPad to your Mac's local storage.
Step 5: Review and Organize Your Photos (Optional)
Once the transfer is complete, you can review and organize your photos in the destination folder on your Mac. You can create folders or albums to categorize your photos, add tags or keywords for easy searchability, and perform basic photo editing tasks using any photo editing software of your choice.
Step 6: Safely Disconnect Your iPhone or iPad
After transferring and organizing your photos, it's important to safely disconnect your iPhone or iPad from your Mac to prevent any data loss or corruption. To do this, simply disconnect your USB cable from your device or click on the "Eject" or "Safely Remove Hardware" option in the Image Capture app.
Step 7: Back Up Your Photos (Optional)
To ensure the safety and security of your precious photos, it's always a good practice to create a backup of your photos on your Mac or an external hard drive. You can do this by simply copying and pasting the photos from your Mac's local storage to another location, or by using backup software or cloud storage services like iCloud, Google Drive, or Dropbox.

In conclusion, transferring photos from your iPhone or iPad to your Mac using the Image Capture app is a straightforward process that allows you to easily back up, organize, and edit your precious memories. By following the step-by-step guide outlined above, you can confidently transfer your photos and ensure that your memories are safely stored on your Mac for years to come. Happy transferring!
Comments